This post was originally published on this site.
When it comes to the use of a defensive handgun, few things are as critical as shot placement. While all the fundamental mechanics must align, ultimately, where we place our rounds will determine whether we succeed in our task. Today, we are going to look at three different shot placement options and which one I ultimately believe is the best.
Advertisement — Continue Reading Below
Shot Placement – Where to Aim
Regardless of where you place your shot, it is important that you aim small. While that term has become a cliché, it is still the truth. In a high-stress environment, it will be difficult to experience what you consider to be your normal accuracy. In a life-threatening situation, it is generally considered that your normal shot groups may as much as double in size. Add to this the fact that the assailant may be moving or that you yourself may be moving. All this combined makes it difficult for us to stack rounds like we usually would.
Leg Shots
We will start from the bottom up. A phrase that is often used is just shoot him in the leg. There are multiple issues with this shot placement. First, the upper thigh is relatively small compared to the rest of the body. And while it contains the femoral artery, the chances of incapacitating a subject are not as high as you may think. The idea behind this is that the subject is mechanically disabled, so they can’t continue their attack. At this point, you’re actually aiming at the femur, which is even smaller in size. A side complication to this is the legal ramifications. The common concept behind shooting someone in the leg is that it only wounds them. When pressed to defend yourself in court, you will have to explain why you felt that only wounding an assailant was necessary
Advertisement — Continue Reading Below
Hip Shots
Moving up the body, now we look at the hips. The concept of shooting somebody in the pelvis or in the hips gained quite a bit of popularity several years ago. The problems with this shot are very similar to what we see with a leg shot. It is a relatively small area, and while it could be mechanically incapacitating, the chances of a stop are limited. The hip and pelvic area is rich in blood vessels and arteries, but those can only be brought into play if we are hyper-accurate with our shots.
Advertisement — Continue Reading Below
Center Mass
The next area we’ll talk about is center mass. This is by far the most well-known and effective shot placement area. The reason for this is that the center of mass of the body contains the vital organs. The two we’re primarily focused on are the heart and lungs. While not instantly incapacitating, a single shot or multiple shots in this area will cause enough physical trauma that the subject will cease their attack. Back to the point of shooting small for just a moment. The upper torso of the human body is relatively large. When focusing on center mass shots, we need to truly drill into the absolute center. A technique that I teach is the idea of not just shooting center mass, but focusing on something small on the subject, such as a button on their shirt. By aiming at the button, you have a small target to focus on.
Head Shots
The final area we’ll talk about is our headshots. Contrary to what we experience with center mass shots, which essentially take out the pumps, a headshot shuts the system down. Like other shots outside of center mass, the head is a difficult target to hit. It is highly articulated and will more than likely be moving during an attack. And just like our other targets, we need to be certain to aim small. The legendary shooter and instructor Chuck Taylor expressed very clearly to me years ago during the class. His phrase was “If you’re going to shoot them in the head, then shoot him in the eye”. This is a very similar concept to what we had with shooting a button on the shirt. The chances of even a single round causing absolute incapacitation by shooting somebody in the eye are very high. The brain and vascular damage done by this is certain to put the assailant down.
Advertisement — Continue Reading Below

Rounds Fired
One last concept I would like to touch on is based on the number of rounds shot. Your goal should be to continue shooting until the assailant stops. Contrary to what some people may boast about, our goal is not to kill. Our goal is to stop them. If they die as a result of the gunshots, that is a consequence of their actions and not our initial goal. Many times, an assailant shot once or twice in the chest will quickly break contact and retreat. While this may seem like a warm and fuzzy concept, it is more of a tactical calculation. Our handguns hold only a limited amount of ammunition. In many cases, there is more than one assailant. By shooting a single assailant more times as necessary, you reduce the number of rounds you have access to for a second bad guy. In the end, shoot them to the ground with only as many rounds as you need to.
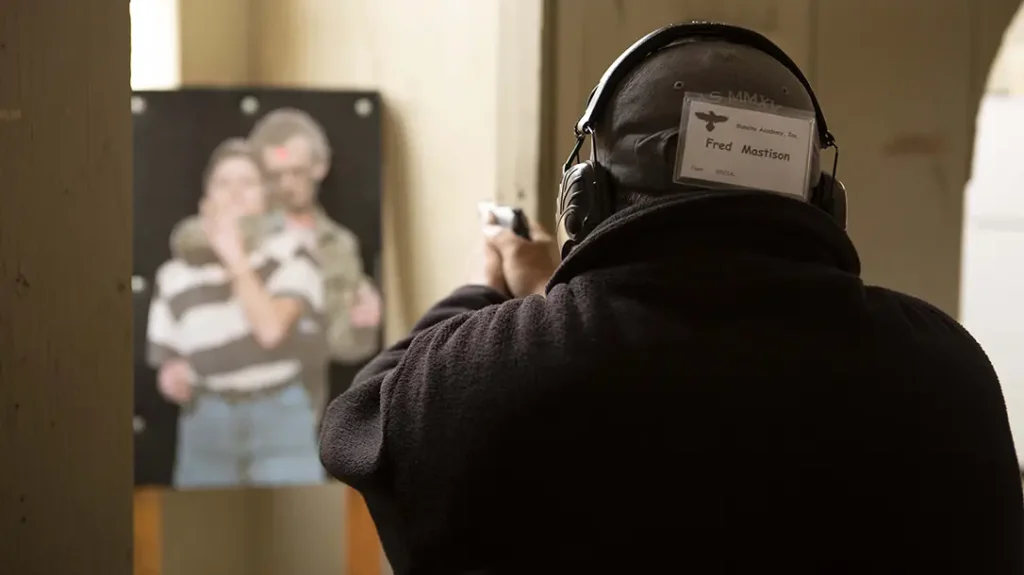
Shot Placement
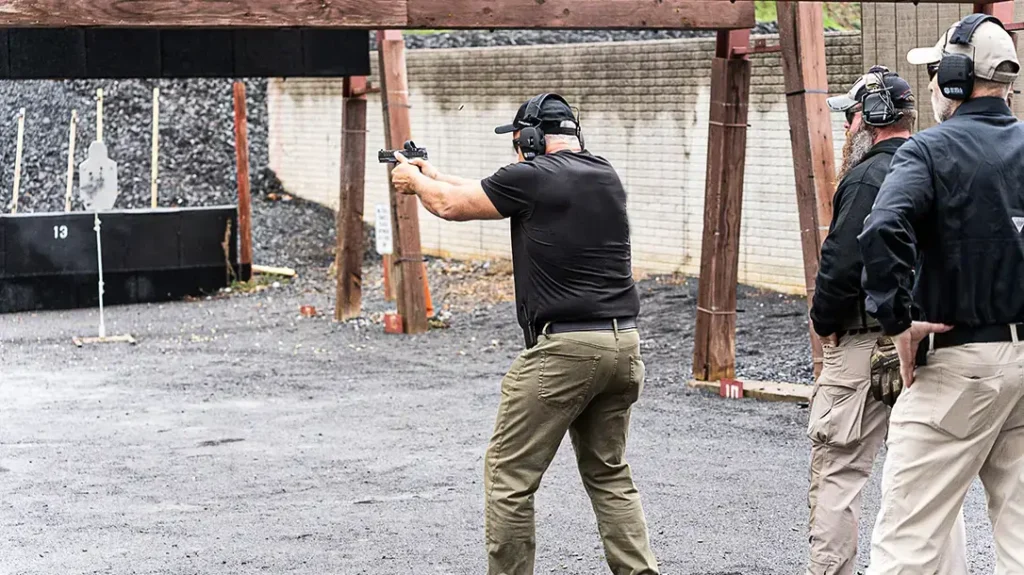
When you were training at the range, I encouraged you to use silhouette-style targets. This can begin to condition you to shooting center mass. It allows you to focus on one single part of the target and do your best to stack rounds in that area. In the end, our hope is that you never have to fire at another person. But if you do, make sure those rounds count and that you go home at the end of the day.
Advertisement — Continue Reading Below
WHY OUR ARTICLES/REVIEWS DO NOT HAVE AFFILIATE LINKS
Affiliate links create a financial incentive for writers to promote certain products, which can lead to biased recommendations. This blurs the line between genuine advice and marketing, reducing trust in the content.
The post Shooting 101: Target Selection appeared first on Athlon Outdoors Exclusive Firearm Updates, Reviews & News.
Advertisement — Continue Reading Below